
View the simple steps to know how to migrate files into a MSG file format along with the attachments and attributes.
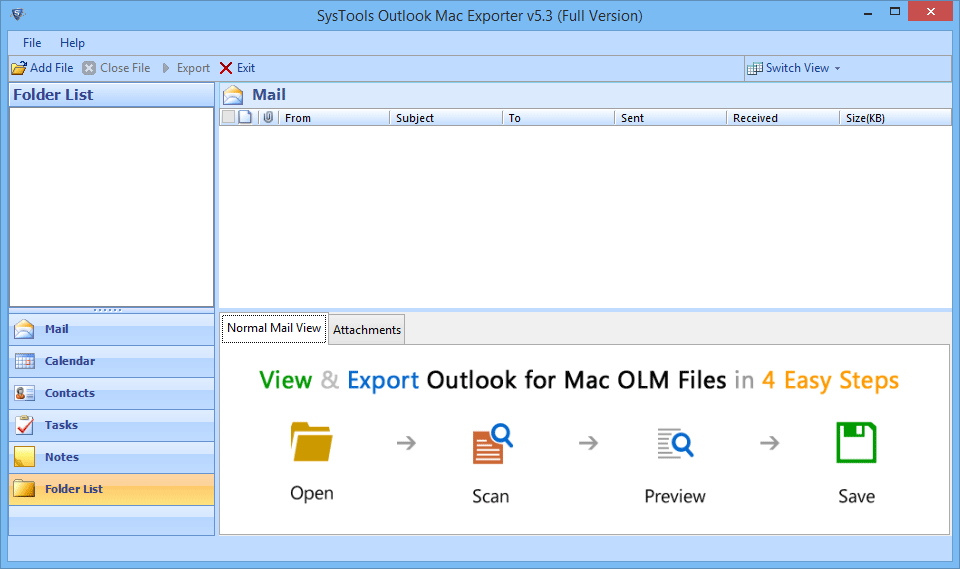
Step 1: Run the Software.
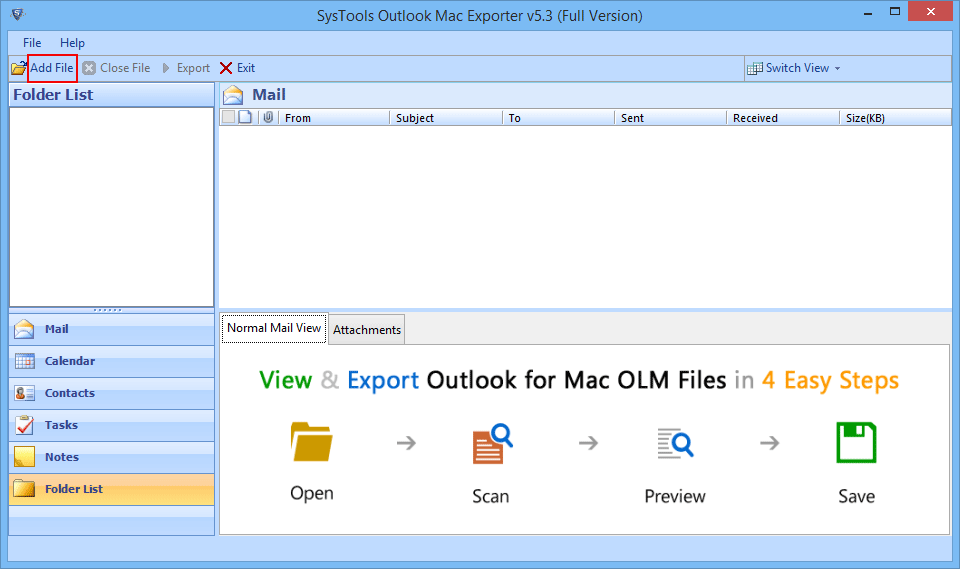
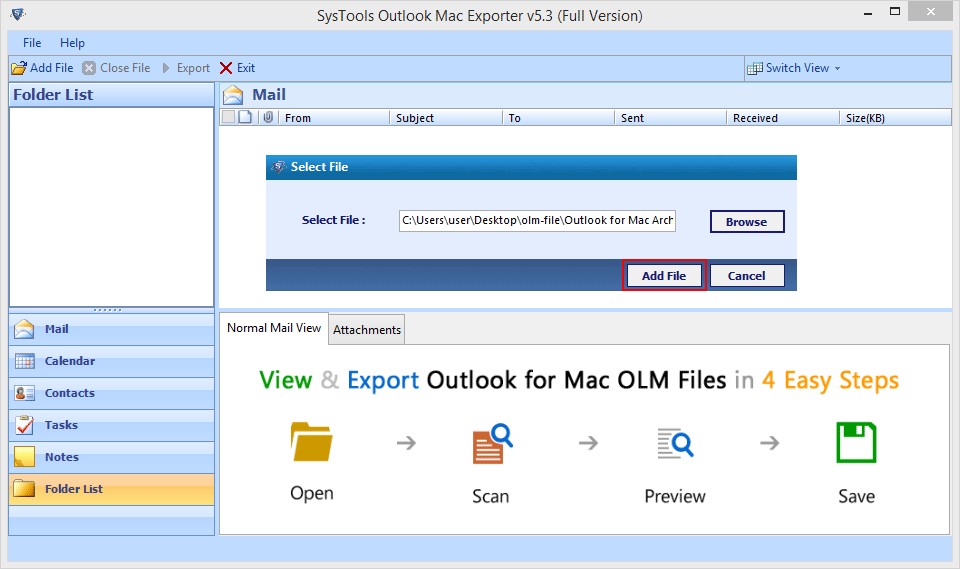
Step 2: Click on "Add file" button to add files.
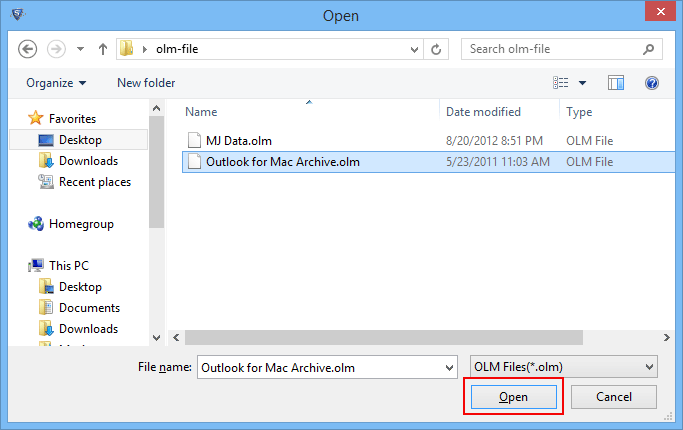
Step 3: Press the "Browse" button to select the file from the system.
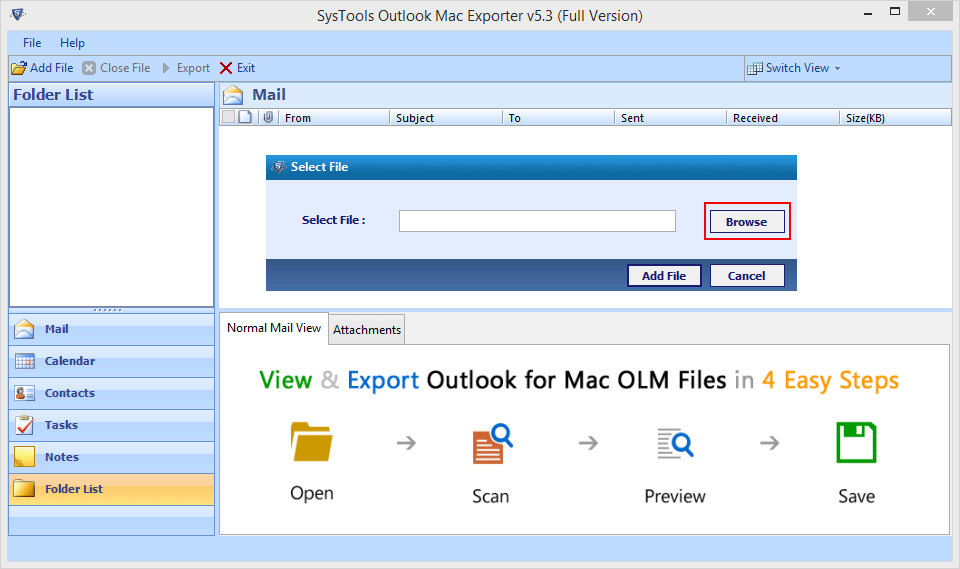
Step 4: Now select the file from the particular location of the system.
Step 5: Click "add file" on the pop-up.
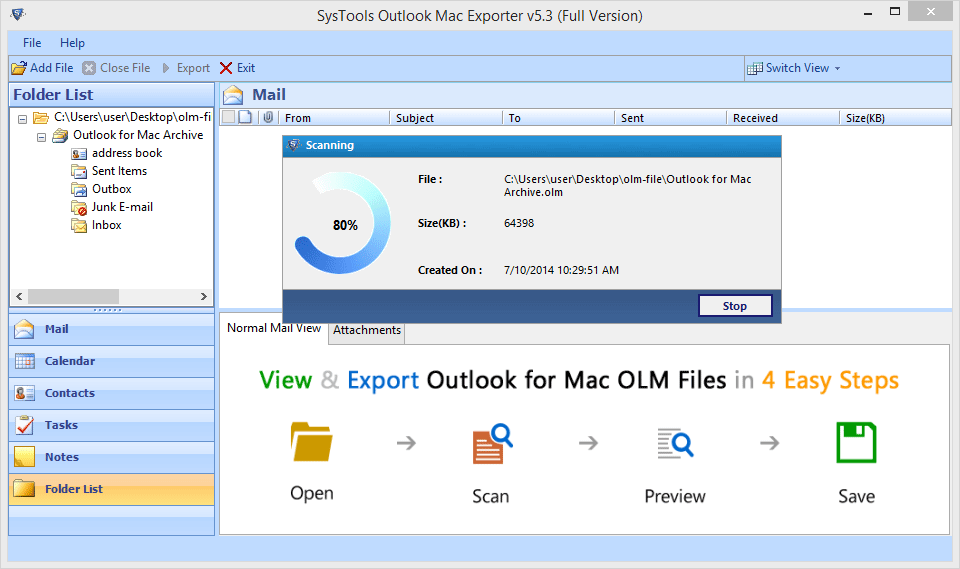
Step 6: After this the software automatically starts the scanning process.
Step 7: After the scanning process the tool will ask you to save the scanned files or not.
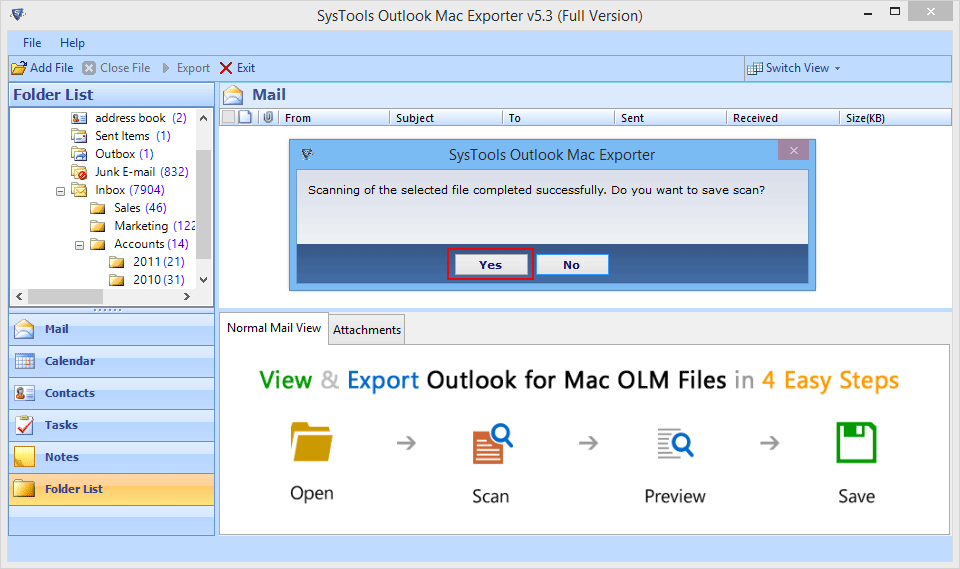
Step 8: Now the screen appears on the window with all the selected files.
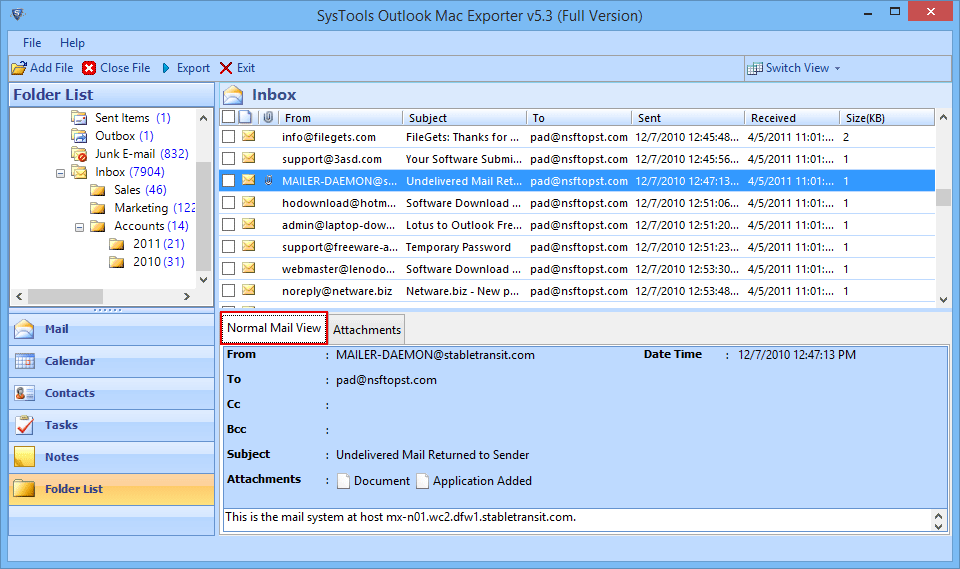
The software allows two alternatives for viewing the mail items:
1. Normal Mail View
2. Attachments View
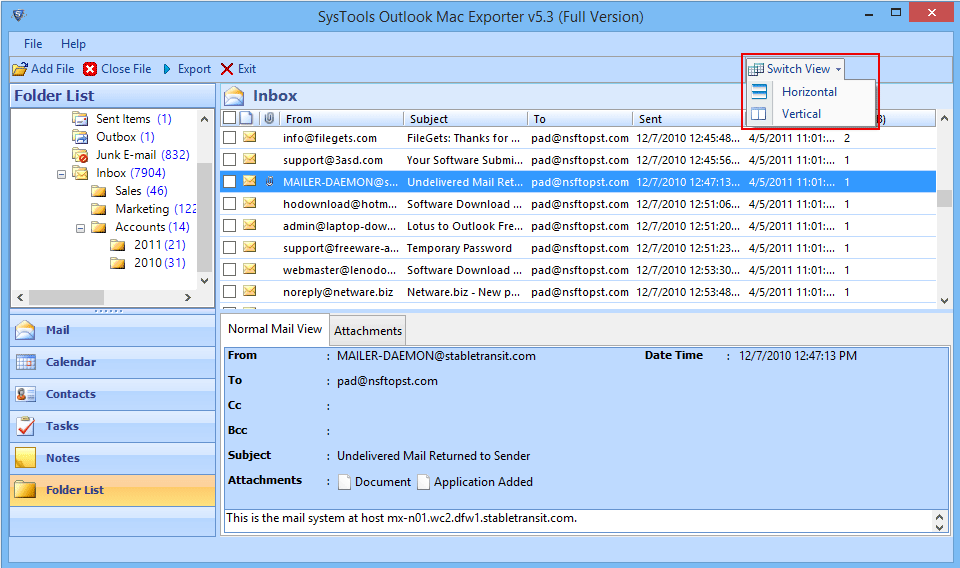
Step 9: You can also swap the screen from horizontal to vertical or vertical to horizontal through "Switch View".
Now we have two methods of exporting files:
1. Export selected email.
2. Export selected folder.
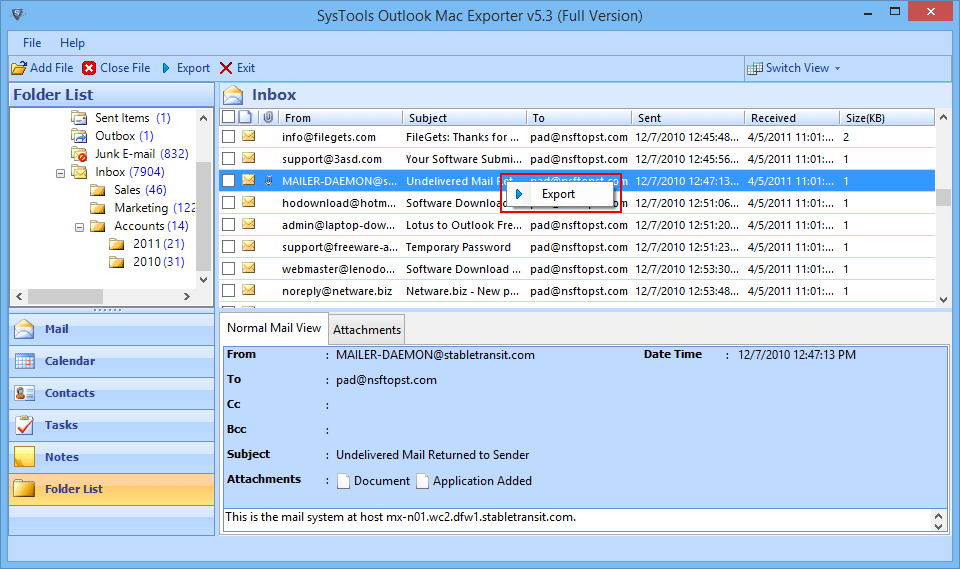
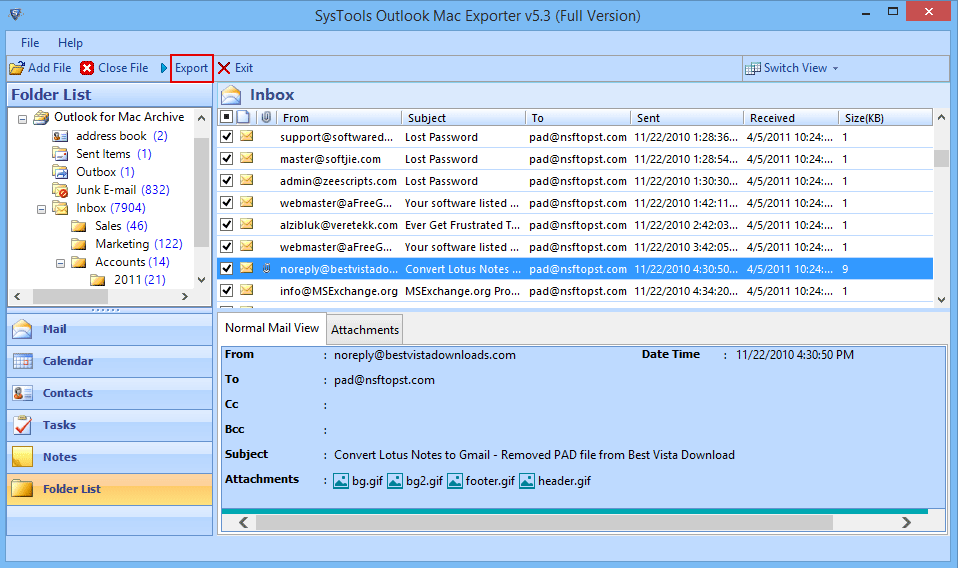
Step 10: First we will see how to Export selected mail. Right click on the mail and click on "Export" button.
Step 11: Now select MSG option among the three options.
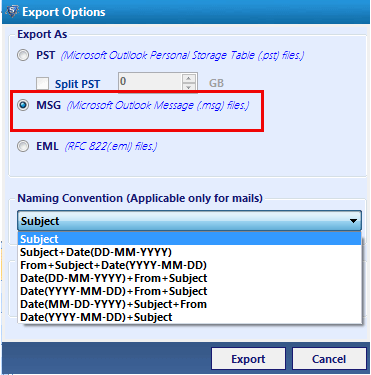
Step 12: Click in the "Browse" button for saving resulting files in your desired location and then click on "Export" button.

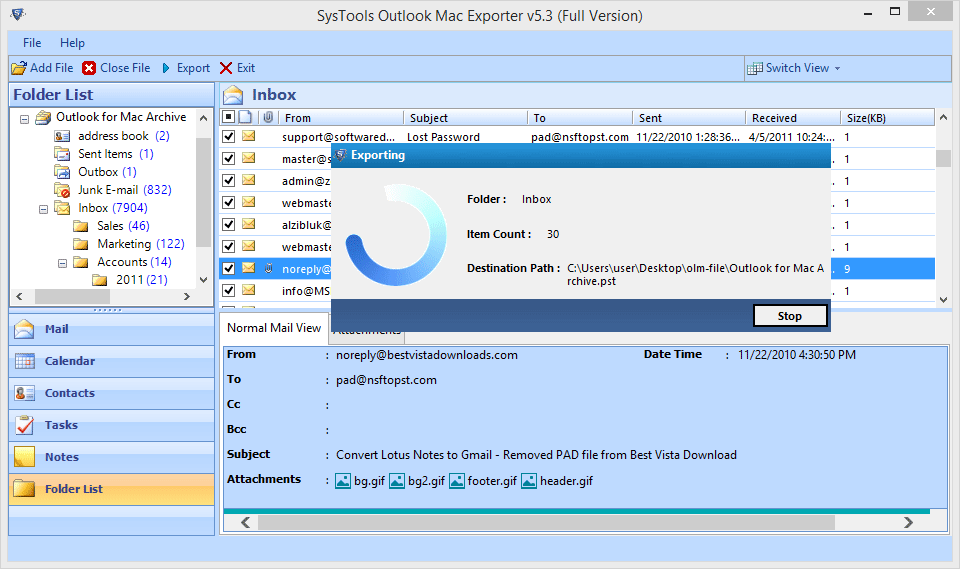
Step 13: The software will display the exporting process with the live status with Folder name, Item count & Destination path of the exported files.
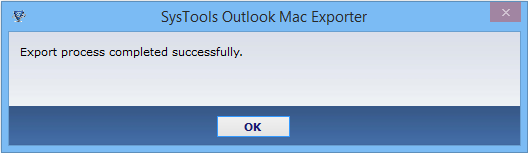
Step 14: After the process a notification window appears "Export process completed successfully. Then click on "OK" button.
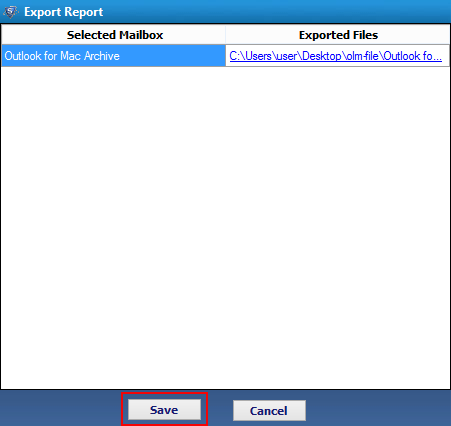
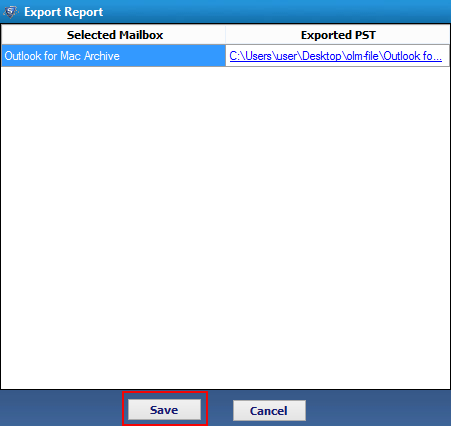
Step 15: After the process, you can also save the CSV file of the exporting process.
To Export Selected Folders:
Step 1: For exporting selected mail folder, Click on "Export" button from the navigation bar.
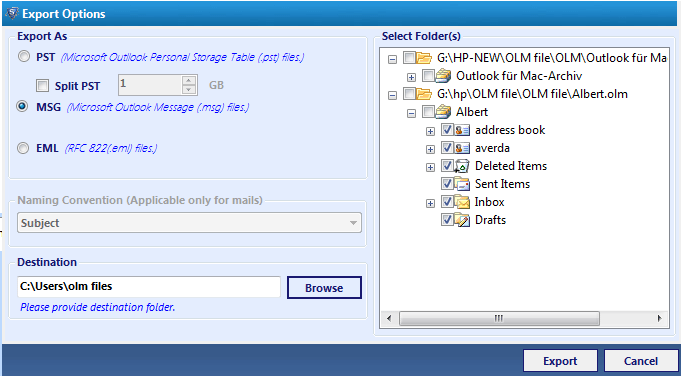
Step 2: Select the MSG option:
a. Select Folders- Choose that folder which you want to export.
b. Naming Convention- Describe a naming convention from the list for the emails to be exported
c. Browse Destination- Choose the place where you want to save exported.
Step 3: The software shows the exporting process with folder name, item count and destination path.

Step 4: Save the report of exported files into CSV format for the future references.