
Follow the Step by Step procedure to convert Outlook MAC OLM File to PST, EML or MSG formats using Outlook MAC Exporter
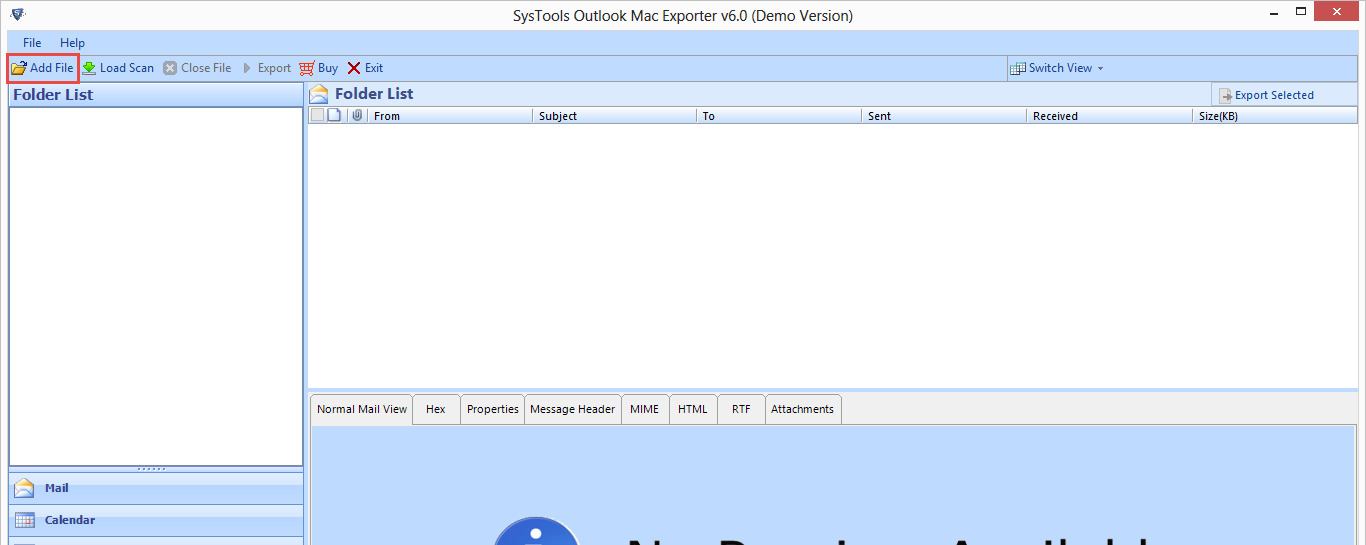
Step 1: Launch Outlook MAC Exporter from the installed location or Go to Start menu » All Programs» Outlook Mac Exporter to launch the Software.

Step 2:Click on Add File button to add .olm file from its location on the local machine.
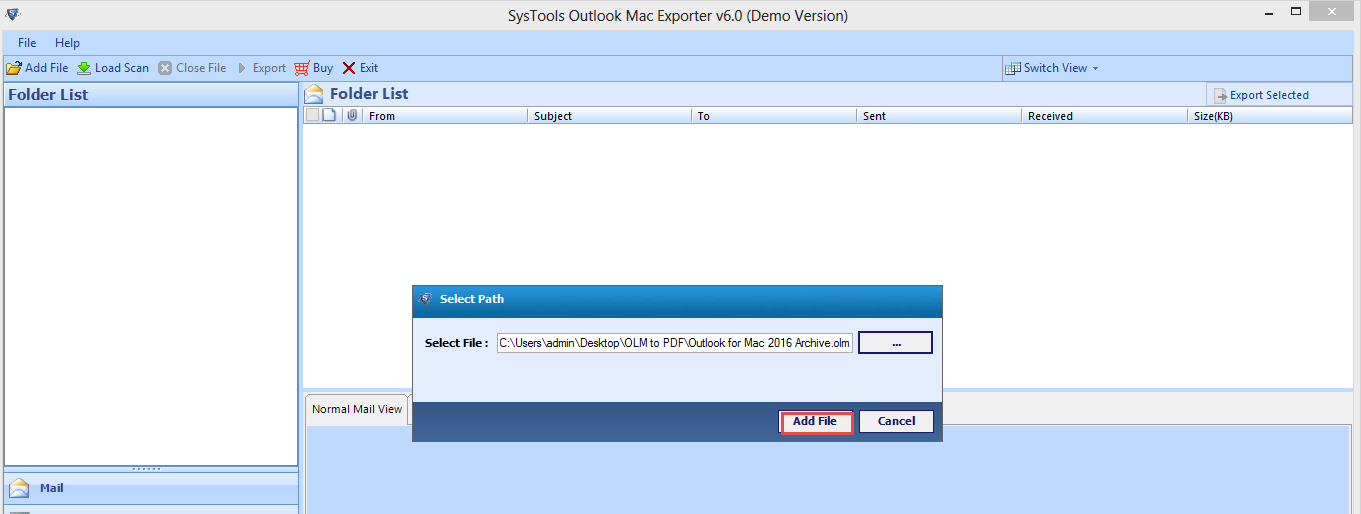
Step 3:Now, browse the respective file location by clicking on the Browse button .

Step 4:Browse to specify the OLM file source location & then click on Open button to add the OLM File to software.

Step 5:>Click Add File to initiate the file scanning process.
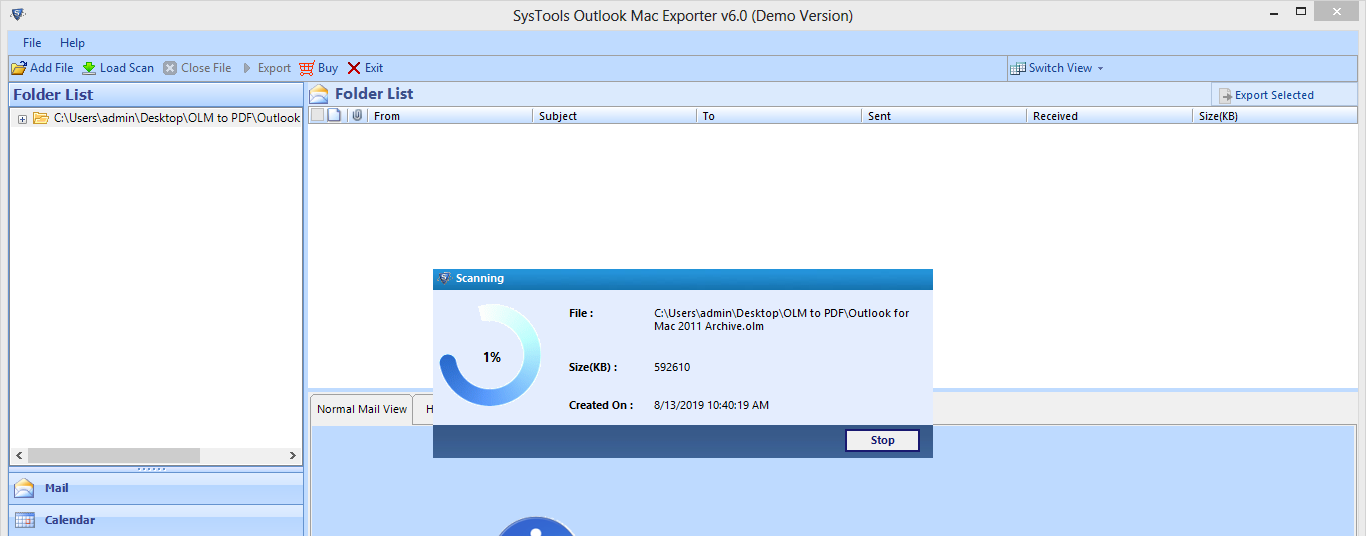
Step 6:After clicking on the Add File button, software initializes OLM File Scanning process and displays progress of the process with file name, size and time stamp details.
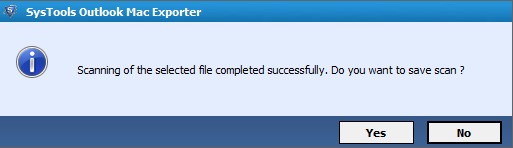
Step 7:Click Yes if you want to save the scanned results as per convenience.
Step 8:As soon as the OLM file scanning process completes, you can "Preview" Emails in the Normal Mail View tab.

The Left Panel of the software displays existing folders in Source OLM file. All PST file items can be previewed on the software interface as follows:
a) Normal Mail View
b) Property View
c) MIME View
d) Message Header View
e) Hex View
f) RTF View
g) HTML View
h) Attachments View
Step 9: Now you can view all the folders and mailbox items. There are tabs: Mail, Calendar, Contacts, Notes, and Folder list in the left side of the window.

Step 10:Click on the Export Button to migrate all data items of OLM file together
Select any email, Right click on the email then click on export.

Step 11:Or select the Export Selected option to migrate only particular files that are selected.

Step 12:>While the "PST" radio button is selected, Click on the "Advanced setting" button as shown below:
Now, Provide the following settings:
Split PST: To Split all the PST files using the size that can limit the size of the PST files.
Date filter option: This allows the user to migrate specific data from the PST files.
Categories:
As per which we can export the specific components of the PST file such as mails, contacts, calendars.
Once the settings have been specified, click on the "save" button.

Step 13:On the previous menu, Click on the "Browse" button to provide destination folder to save the resultant file/s.

Step 14:Select the location as the final destination on the next window and click on "OK".
Step 15:The Path of the file selected will be displayed in the corresponding text box to the "Browse" button.

Step 16:Check "Maintain Folder Hierarchy" option to have same order of folders (with same name) as in source file in the resultant PST file generated.

Step 17:Click on "Export" button to save the previewed items in PST file format.

Step 18: The software will start the export process now.

Step 19:Once the export process is complete, Then the following message would be prompted. Click on "OK".

Step 20:The following window will show the success as well as fail count as follows:
